
If you’ve never worked with clay in your life, you’re in the right place. Coffee clay is one of the easiest ways to start, because the dough is forgiving, the ingredients are in your kitchen, and the main one is something you’d normally throw away.
It’s a salt-dough-style clay made with used coffee grounds. It rolls out like cookie dough, holds a stamped design, and dries hard. It’s also a great project for a kitchen table with kids, because there’s no wrong way to press a heart into it.
You’ll find affiliate links throughout this post, that’s how I keep this blog and my content free for readers. Thank you for supporting my small business and my content.
I’ve worked with clay before, but coffee clay is new to me, so naturally I’m taking October on the DIY train with me. Everything below is written for someone starting from zero, with no prior knowledge. Great for beginners.

Before You Start
Coffee clay dries dark brown and speckled. It will not dry cream, sage, or terracotta by itself. If you’ve seen pretty coloured coffee clay pieces online, those were painted after drying. The plain brown version looks lovely with twine, and acrylic paint is there if you want colour.
It also isn’t food. Keep it away from toddlers who put things in their mouths, and away from pets. Salt and caffeine are not safe for dogs.
You’ll Need
Image here: “You’ll Need” photo
- 1 cup used coffee grounds (dry, finely ground)
- 1 cup all-purpose flour
- ½ cup salt
- ½ cup water
Wet grounds grow mold within days. To save grounds, spread them on a baking sheet and let them dry completely, then keep them in a dry, airtight jar in the pantry.
Why each ingredient is there. The used coffee grounds give the clay its deep brown colour, its speckled texture, and its coffee smell. They’re also why it’s budget-friendly, since you’re using what you’d normally toss.
The flour is the body of the clay. It’s what lets you roll it out, cut it, and have it hold its shape.
The salt hardens the pieces as they dry, and it helps keep any mold from growing in the dough.
The water turns it all into a dough. Add it slowly, because it’s easy to add more and hard to take it back.
Step 1: Mix
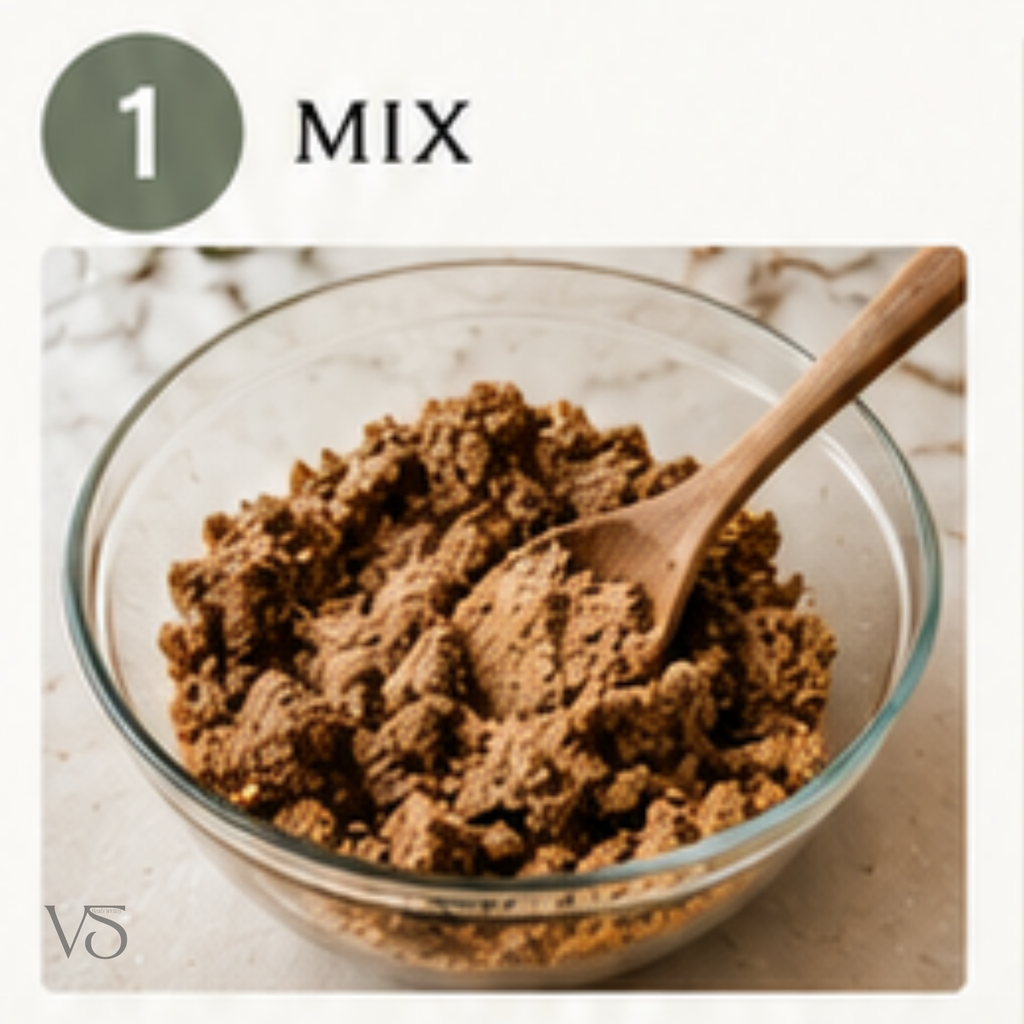
In a bowl, stir together the coffee grounds, flour, and salt until the color is even. Then add the water a little at a time, stirring with a spoon between each splash.
At first it will look like damp, crumbly clumps, so don’t panic. Keep adding water slowly until the mixture sticks together when you squeeze a handful. If you pour all the water in at once, you’ll end up with a sticky mess that’s hard to fix.
Step 2: Knead
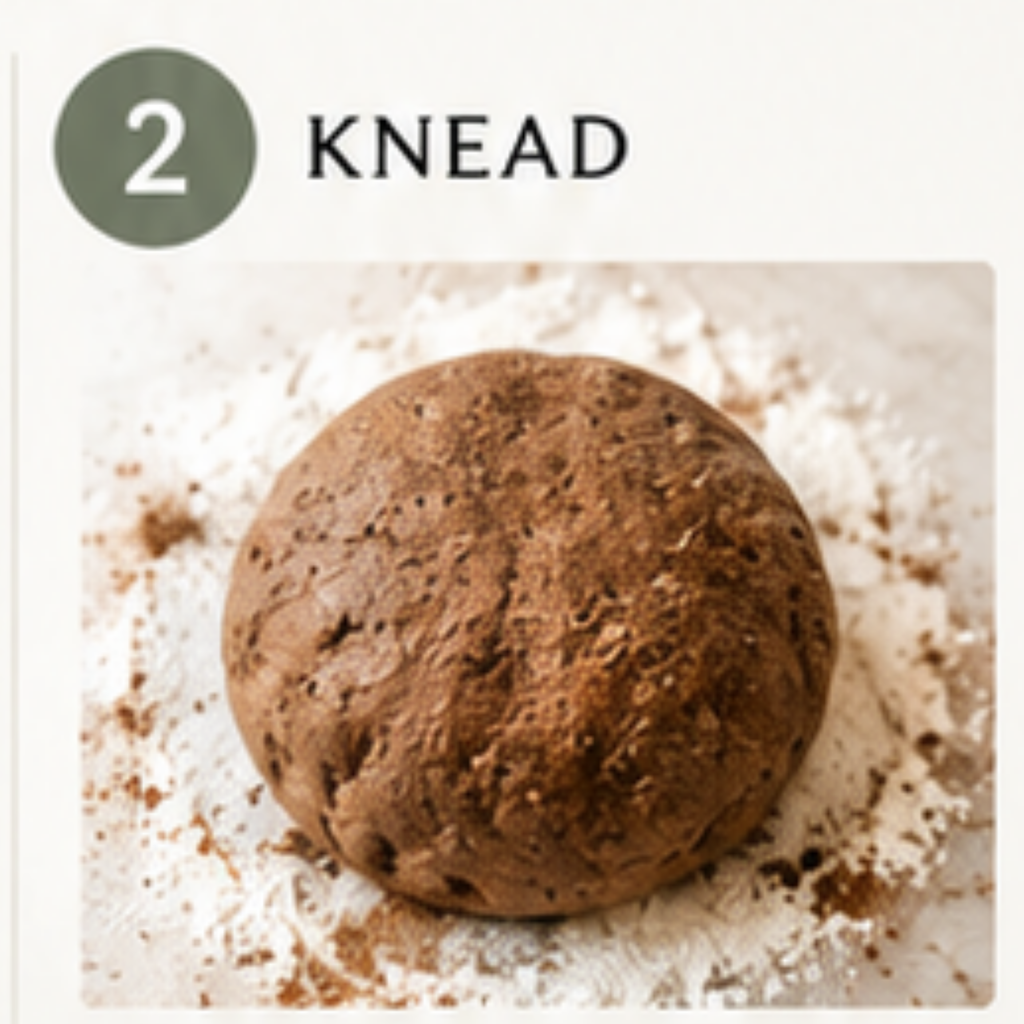
Turn the dough out onto a lightly floured counter and knead it for a few minutes: push it away with the heel of your hand, fold it back, turn it, and repeat. You’re done when it’s smooth and workable.
This is where most beginners get stuck, so here’s how to read the dough:
- Too sticky: work in a little more flour, a tablespoon at a time.
- Crumbly or cracking when you fold it: it needs water. Add a teaspoon at a time and knead it in.
- Still crumbly after all the water: the grounds are absorbing too much. Try again with half the grounds.
Good coffee clay feels like soft modelling dough: smooth but a little grainy, and flexible without cracking. When it feels right, cover it and let it rest 10 to 15 minutes. Resting gives the flour time to absorb the water, and the dough rolls out more easily afterwards.
Step 3: Shape
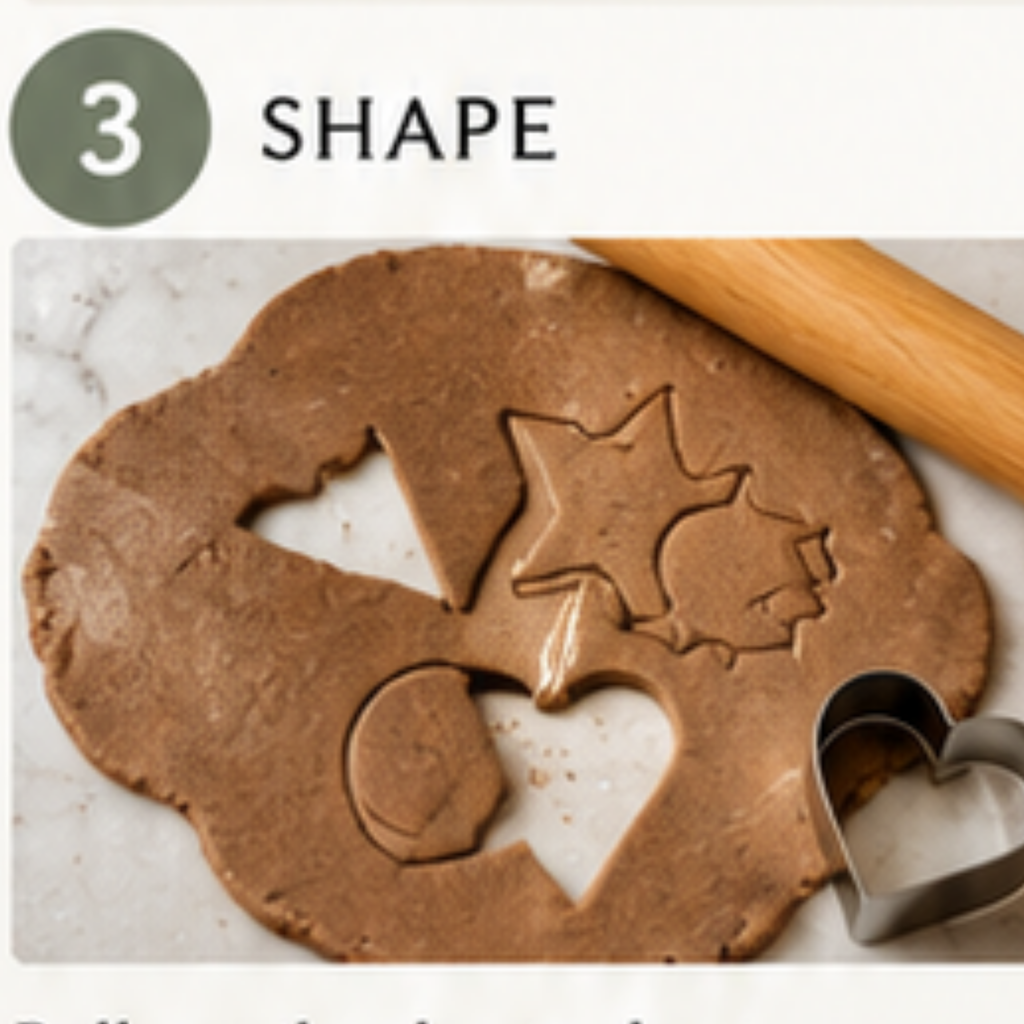
Roll the clay out to about ¼ inch thick, and try to keep it even. Uneven thickness dries unevenly, and that’s what causes cracks. Flour your counter and rolling pin lightly so it doesn’t stick.
Cut shapes with cookie cutters, or shape by hand. You don’t need to buy anything. Use the cutters you already have, or pick some up at the dollar store. Then add simple designs: hearts, stars, or a coffee bean imprint. Press a whole coffee bean or the end of a pencil gently into the clay.
If your piece will hang, poke the hole now with a straw or the back of a pencil. You can’t add it after drying without cracking. Smooth the cut edges with a fingertip while the clay is soft, and re-roll your scraps once or twice for more pieces.
Step 4: Dry
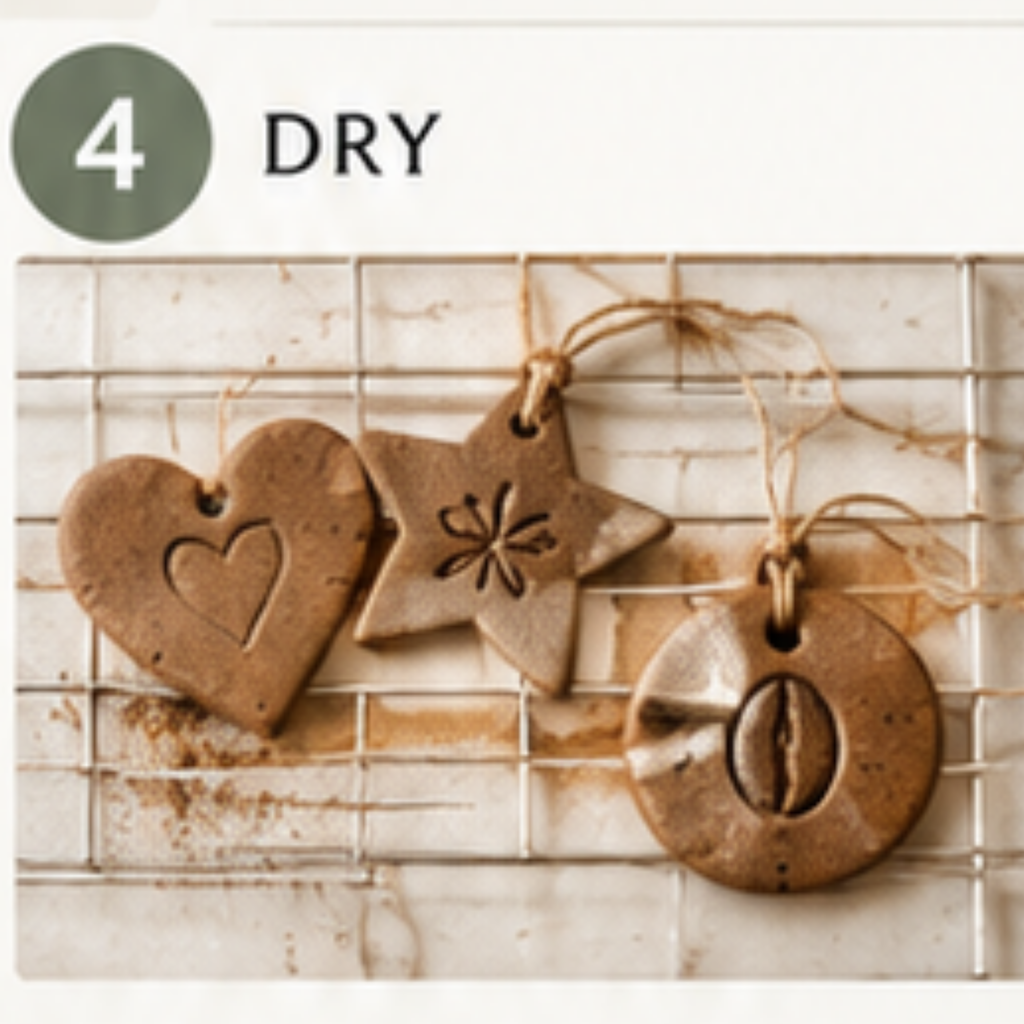
Let the pieces air dry for 24 to 48 hours, until completely hard. A wire rack is ideal because air reaches both sides, but parchment works too. Flip each piece once. Thicker pieces take longer.
You can also dry them on low heat if you need them faster. Bake at about 200°F for 1 to 2 hours, flip halfway, and check often. High heat will crack them.
How do you know they’re done? They’re hard all the way through, with no cool or soft spots when you press the back. Don’t rush this step, because fast drying is the number one reason pieces crack.
Step 5: Finish
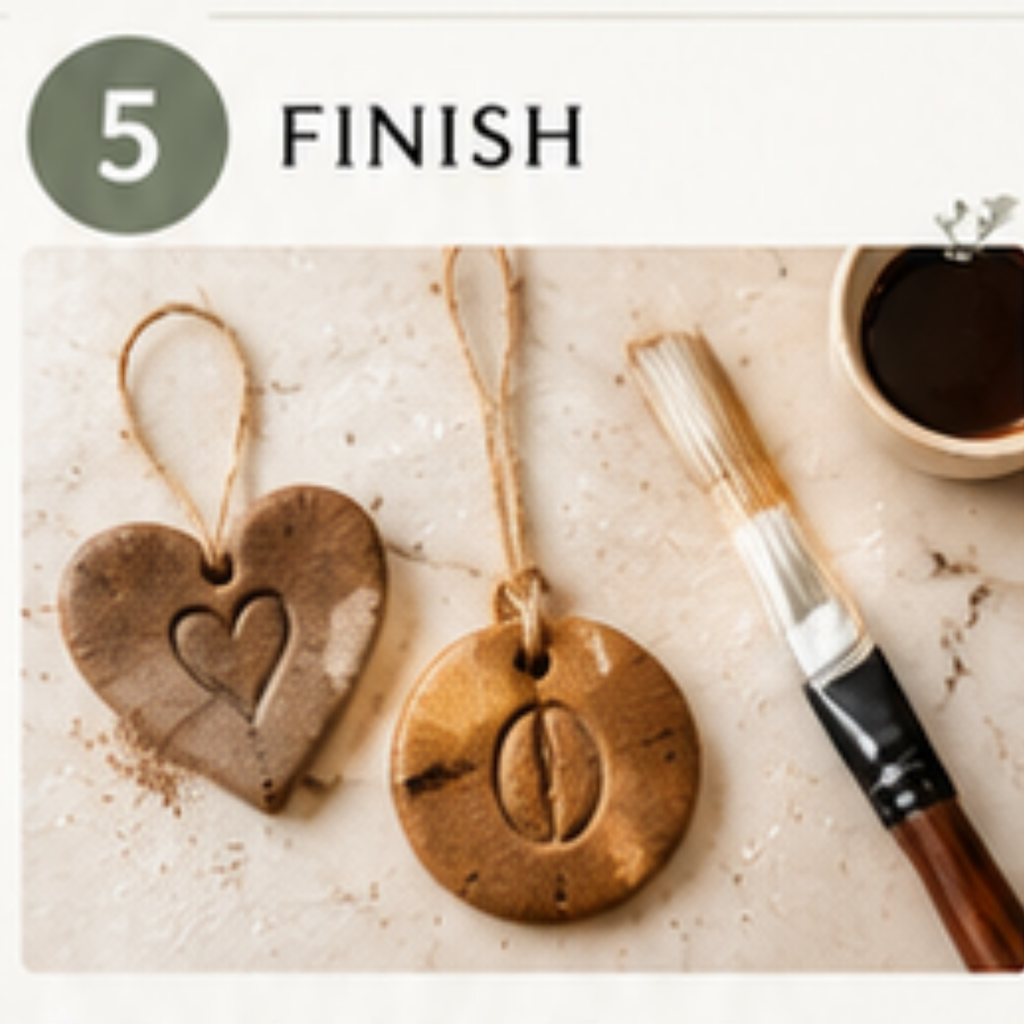
This step is optional. Once your pieces are fully hard, you can paint them with a clear sealer or a coat of acrylic paint for extra durability. Use thin layers, and let each coat dry before the next. Then add twine or ribbon for hanging or gift tags.
Sealing also helps in humid weather, since salt dough can soften in damp air.
Storing leftover dough: wrap it tightly in plastic wrap, then in an airtight container. It keeps for a few days. If it dries out, knead in a few drops of water.
30 Things to Make With Coffee Clay
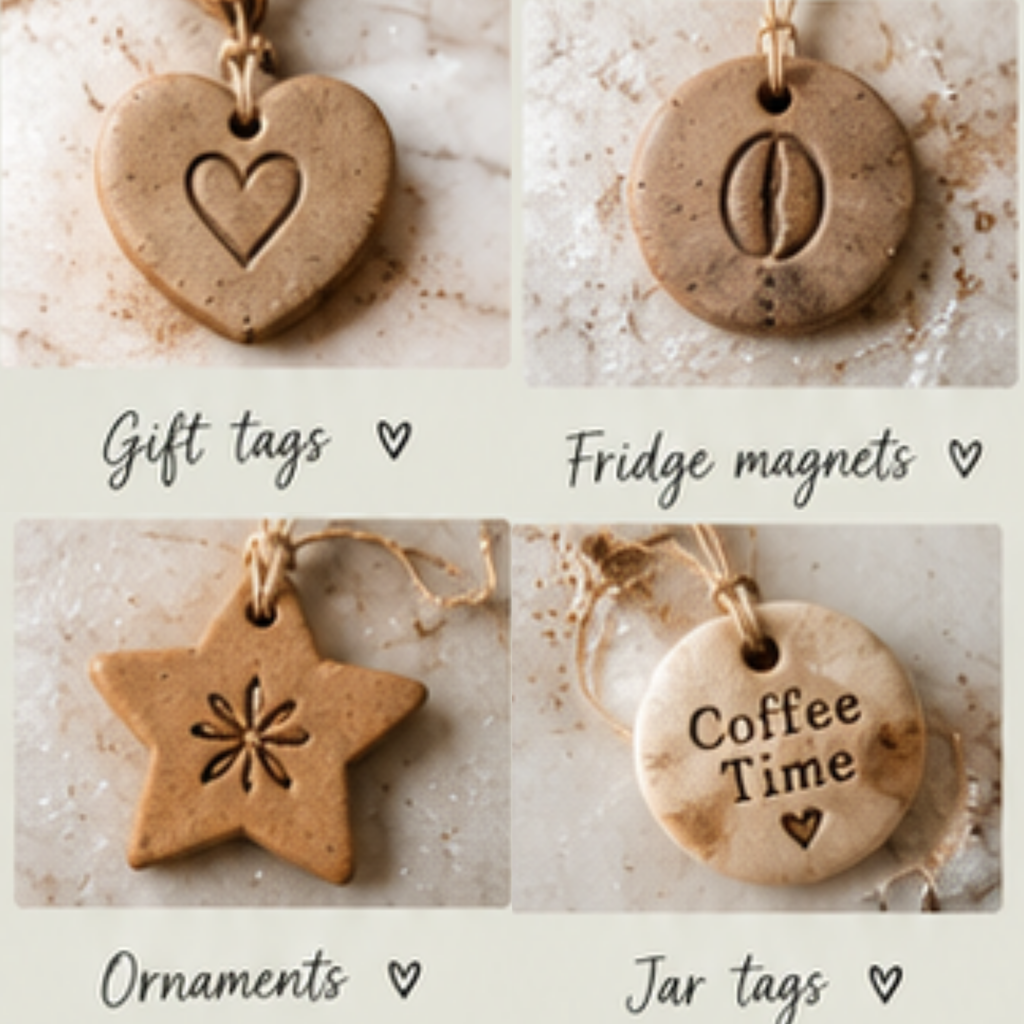
Having the clay is one thing. Knowing what to do with it is another, so here are 30 ideas, split three ways. Coffee clay is for decoration only: it isn’t waterproof or food-safe, so skip plates, mugs, coasters under wet cups, and anything near flame.
10 Ideas for Entrepreneurs (To Sell or Use in Your Business)
- Custom name ornaments
- Gift tag sets, sold in packs of 12
- Ring and trinket dishes
- Key-chains and bag charms
- Fridge magnet sets
- Bean-imprint tags to tie onto bags of coffee or mug gift sets
- Pantry and jar label tags
- Wedding and event place cards or favours
- Scripture verse tiles, crosses, and one-word faith tags (Grateful, Blessed, Redeemed)
- Wreath and garland charms
Selling tip: label each piece “decorative, not edible” and keep it away from pets and small children.
10 Ideas for at Home (To Gift and Enjoy)
- Christmas tree ornaments
- Handprint keepsakes (roll thicker and allow extra drying time)
- Mini pumpkins for fall decor
- Thanksgiving “thankful” place tags
- Advent calendar number tags
- Leaf garland for the mantel
- Name plaques for kids’ bedroom doors
- Plant markers for indoor herb pots
- Date-stamped family memory ornaments
- Backpack and lunchbox name tags
10 Ideas for Teachers and Educators (Classroom and Sunday School)
- Desk or cubby name tags
- Holiday ornaments students make for parents
- Handprint gifts for Mother’s Day or Father’s Day
- Letter and sight-word tiles
- Sunday school memory-verse tiles
- Teacher appreciation tags from parents
- “Good job” reward medallions
- Leaf imprints for a nature lesson
- Class ornament exchange
- A mini pumpkin patch for fall counting and math
Classroom note: flour contains wheat. Check your school’s allergy policy before students handle the dough.
A Pinch of Scripture
Nothing in your kitchen has to go to waste, and neither does anything in your life.
When they were filled, he said unto his disciples, Gather up the fragments that remain, that nothing be lost. — John 6:12
Jesus had just fed thousands, and still He told His disciples to gather what was left. Even with abundance in front of them, nothing was careless, and nothing was thrown away.
That’s what I love about coffee clay. What we usually toss becomes something we can hold, hang, and give away. And the hours at the table with your kids, hands messy and heads close together, are worth more than anything you could buy.
Try this recipe, enjoy, and bless your life.
Stay faithful, stay seasoned, and stay loyal.
With love and fire,
V.S. Beals — Servant. Disciple. Woman of the Word.
Have you recreated our last article