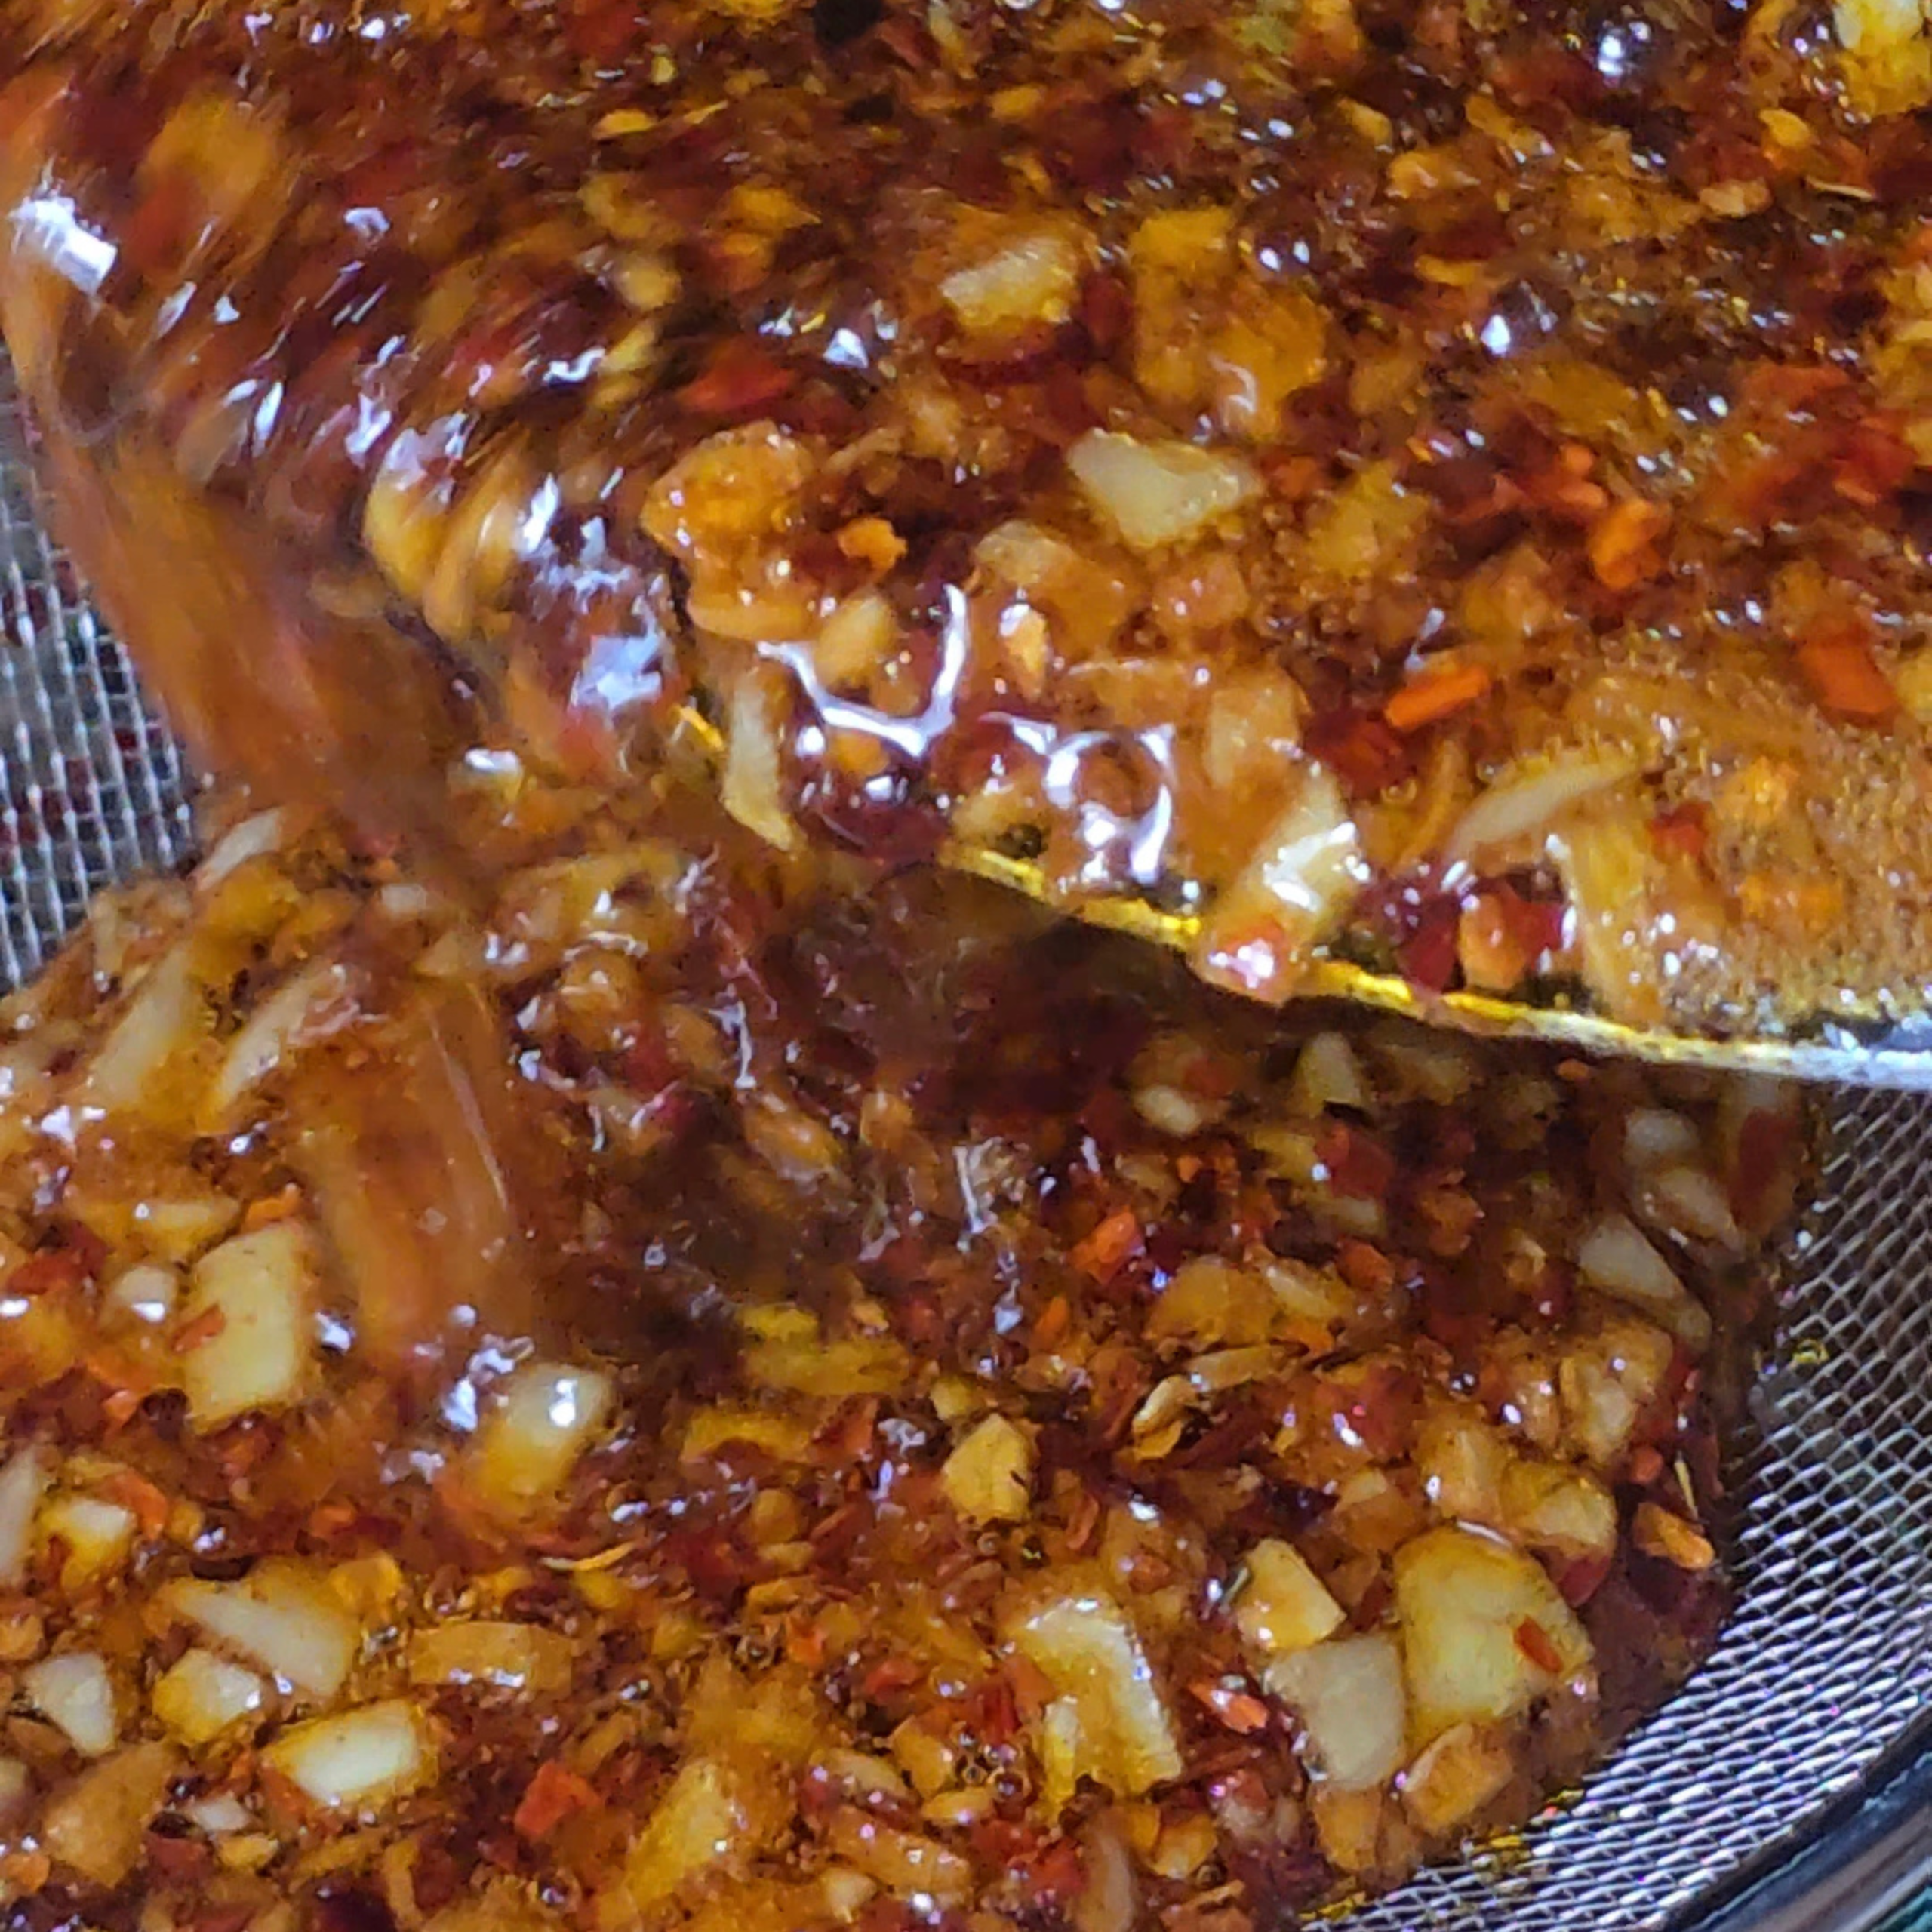
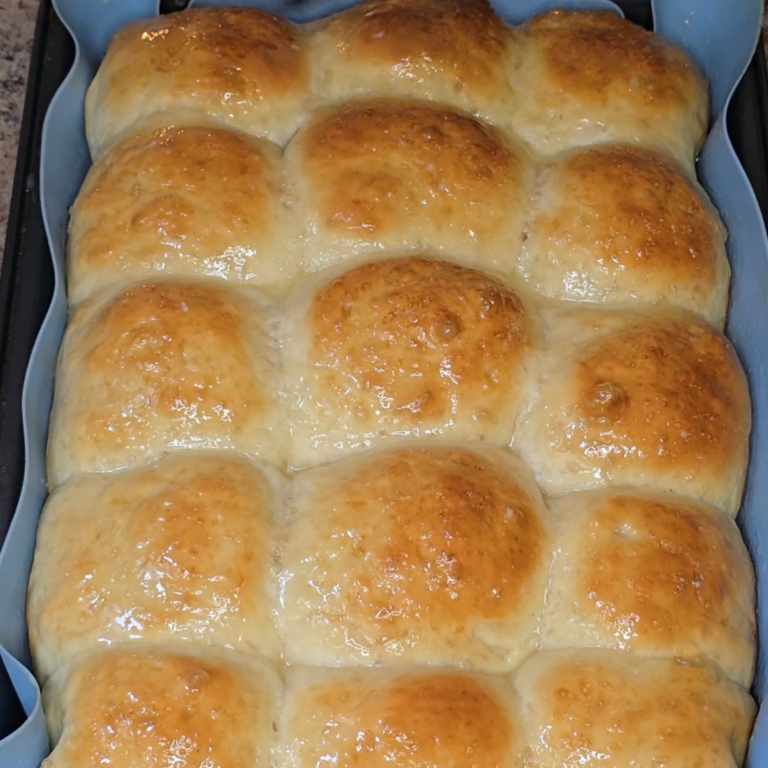
There are recipes you make, and then there are recipes that make you. This one made me.
And before we go any further, I need to be honest about the name change, because these started life as Honey Milk Butter Dinner Rolls and by the time they came out of the oven I knew that name wasn’t going to cut it. These are Marry Me Dinner Rolls now. Full stop. Because if you ever make these for someone, whether that’s a spouse, a person you’re trying to become a spouse, or a whole family sitting around your table, you are playing with fire. The kind of good fire that ends in a proposal, or at the very least, someone deciding they’re not leaving your kitchen. My advice, and I say this with love, is to keep the recipe to yourself for as long as you possibly can. You don’t have to lie about what’s in it. You just don’t have to volunteer it either.
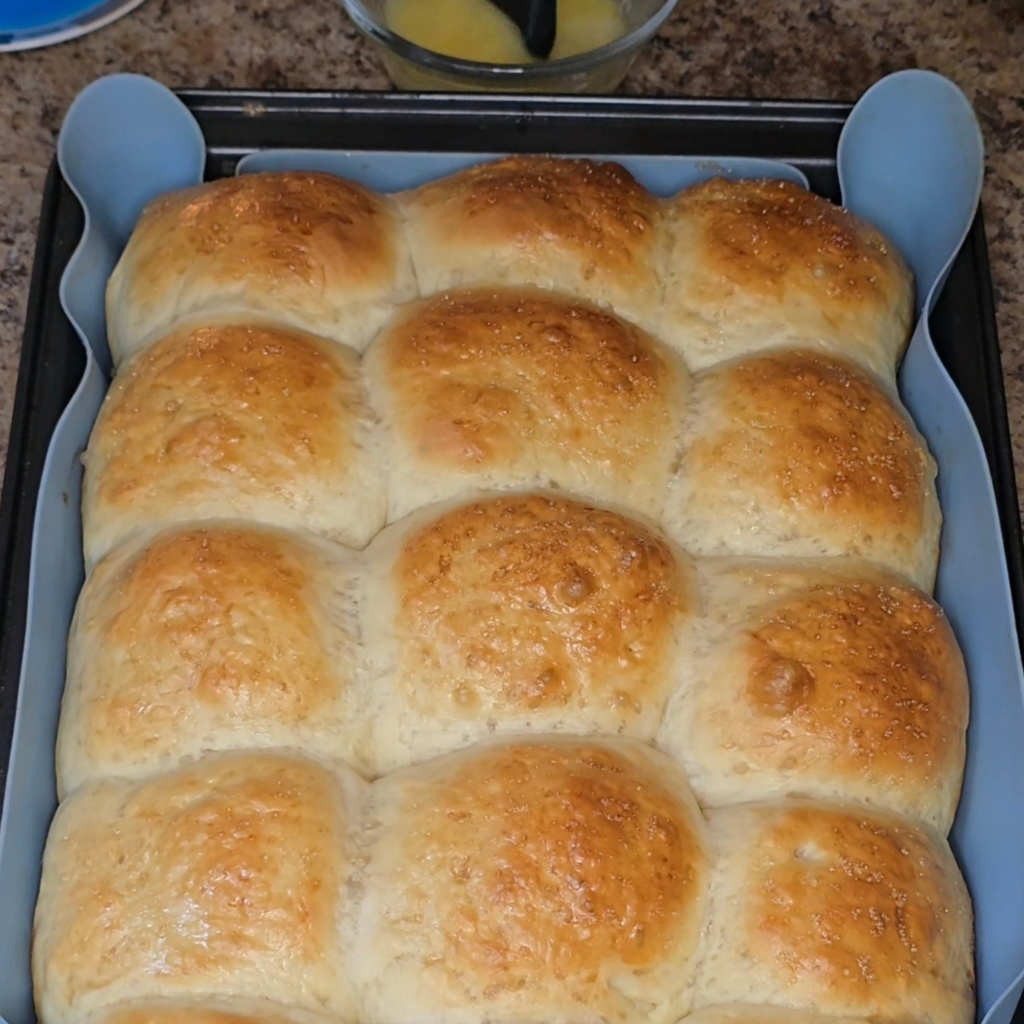
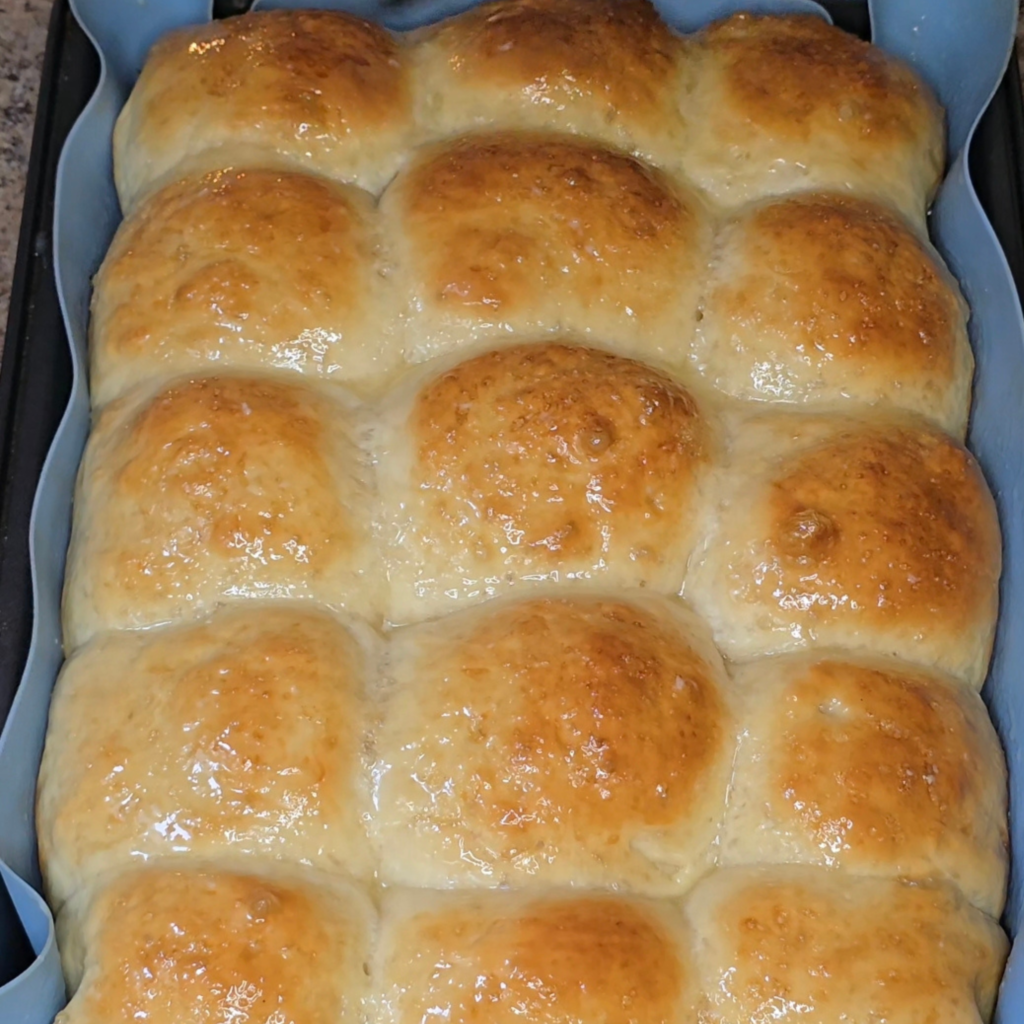
When these came out of the oven, they looked so good I genuinely thought they were fake. Golden, glossy, that honey butter pooling in every crease, the kind of thing you see on a food commercial right before you remember commercials lie to you. They looked fake. Like a cartoon version of a dinner roll. I was so excited I did the thing every mom does, calling across to October in the livingroom (even if it was only 7 feet away) house, “October, look, look, look, look, look,” and my son, who was very comfortably not moving from the couch, gave me the flattest look, you know the one “Mom, why are you bothering me” has ever delivered. That’s the real review, by the way. Not the enthusiastic taste test I wish I could tell you happened, just a mom standing in her kitchen amazed at her own dinner rolls while her son ignores her from the living room. I’ll take it. I didn’t need his approval, but these rolls do. They need his approval to be the best bread I’ve ever made and stuffed into my mouth. Two thumbs up, the kid loves them. All is well in Denmark (if you know you know… English major here).
I need you to understand something about where I come from before I tell you about these rolls. I come from country women. My mama had five children and she can still out-bake anybody I know without blinking (maybe not her mother completely, but I can’t tell the difference when their food was placed on the dinner table. Now her mama, my grandmother, came from a line of sixteen, seventeen brothers and sisters, and when you grow up feeding a family that size, baking isn’t a hobby, it’s a language you’re born fluent in. That’s the blood I come from. That’s the standard I hold myself to. And I’m telling you, with all the reverence that lineage deserves, this is the best bread I have ever put in my mouth.
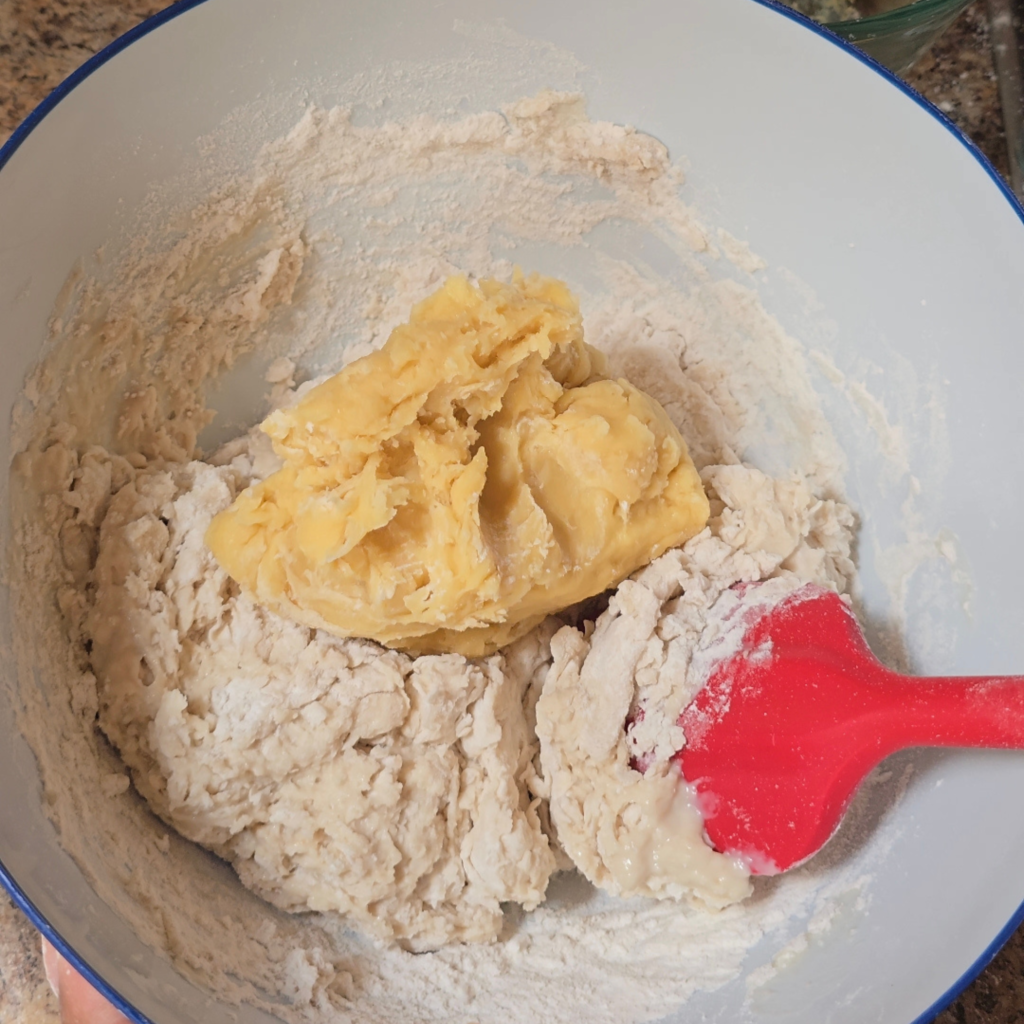
Here’s the part that humbled me though. Baking is not cooking. Cooking forgives you. You can throw in a little extra of this, pull back a little of that, taste as you go and course-correct on the fly. Baking does not work that way. One thing off, one measurement wrong, one dough handled the wrong way, and the whole thing falls apart on you. So when I tell you I’m not entirely sure how I got this recipe as right as I did, I mean that honestly. I was doing things with this dough that I had no earthly business doing. Building two separate doughs and then combining them into one? That felt wrong the entire time I was doing it. All I kept hearing was, trust the process, it’s going to come out perfectly (I don’t want to admit that I was sceptical, but I trust Father And by the grace of God, it came together anyways.
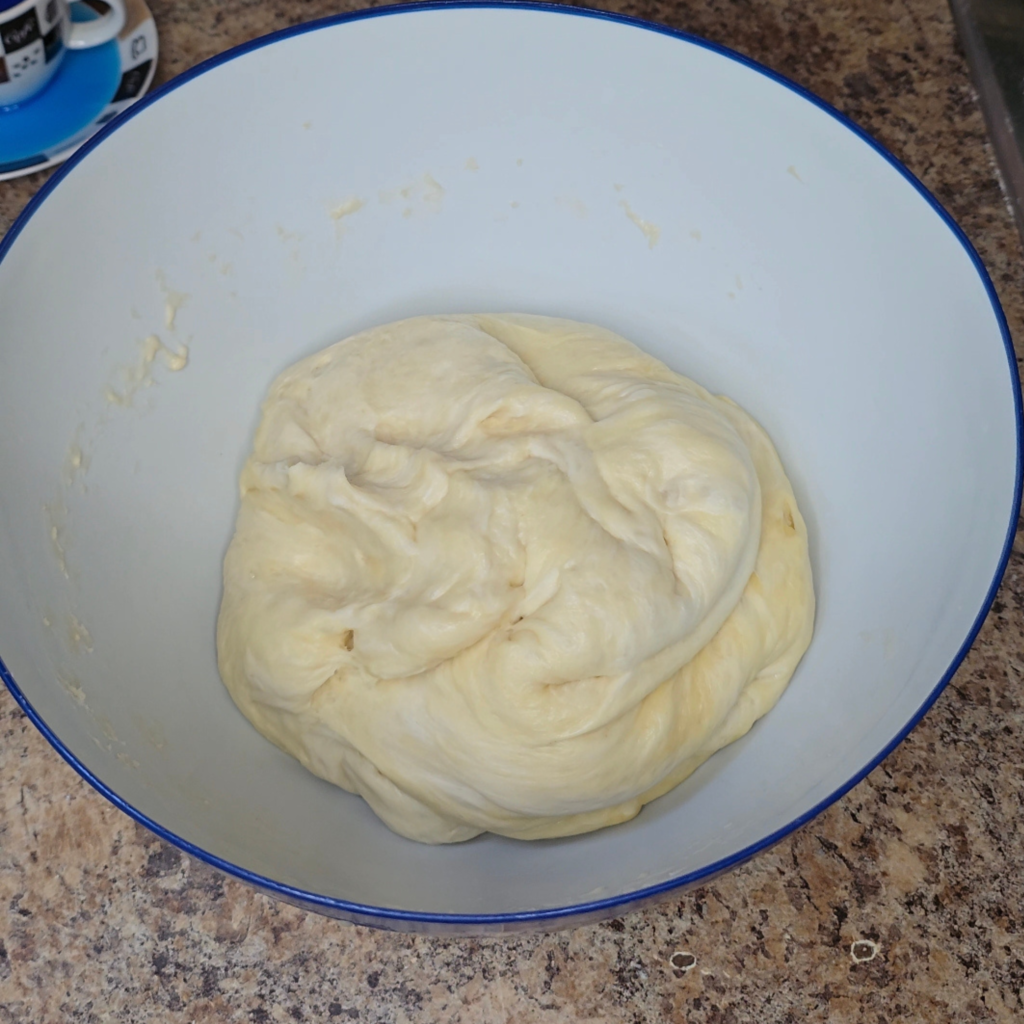
This is a budget recipe, too, even though it doesn’t taste like one. Milk, flour, eggs, butter, honey, yeast, salt. That’s it. That’s the whole list. Nothing exotic, nothing you have to make a special trip for, and yet what comes out the other side tastes like something you’d pay good money for at a bakery that’s been perfecting its rolls for forty years. That’s the kind of recipe I want to hand you. Something humble on the ingredient list and something completely unforgettable on the plate.
The texture is what gets people. It’s flaky on the outside in the way a good laminated pastry is flaky, but the inside stays soft and doughy without ever crossing over into under cooked. It pulls apart in these long, soft sheets, and every single layer of it has absorbed just enough of that honey butter to make you close your eyes involuntarily. I did not plan for that reaction. It happened on its own, more than once, in front of witnesses.
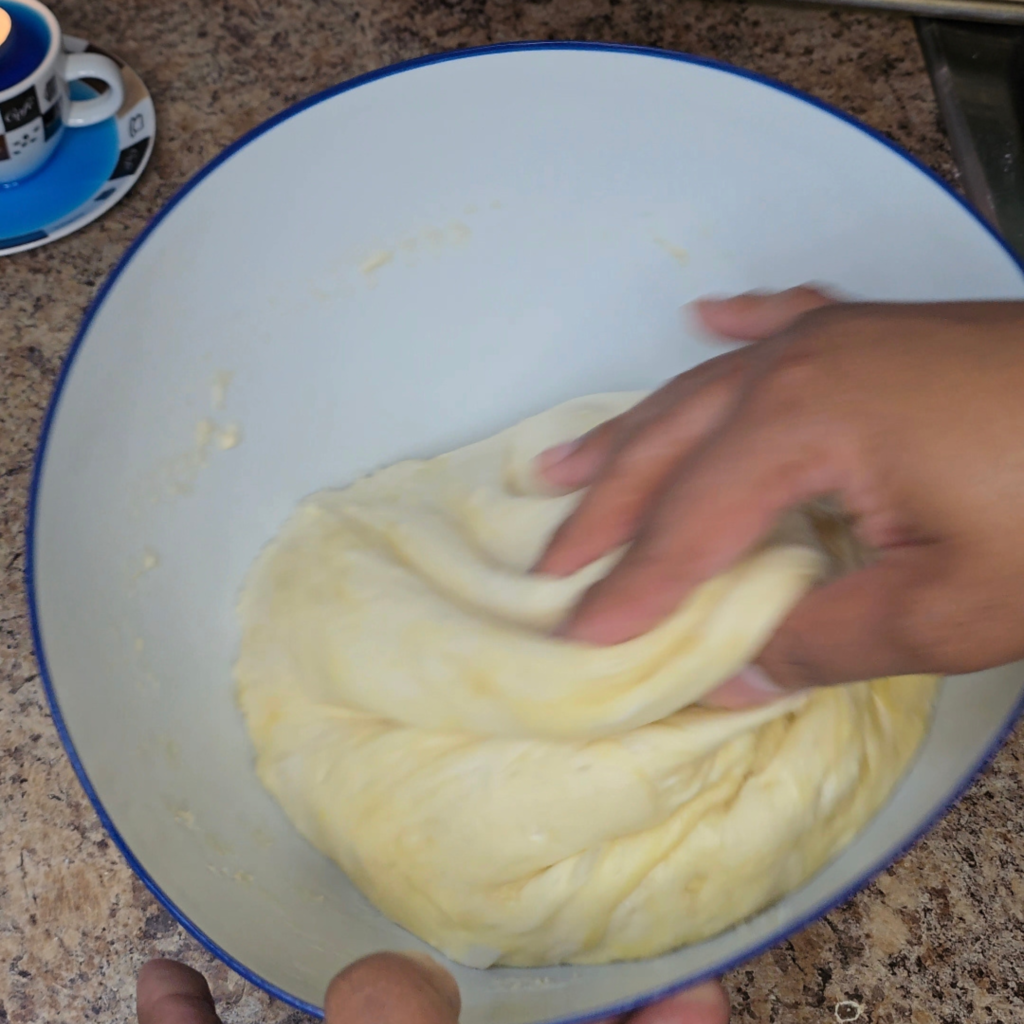
A note on the process, because I want you to actually get the result I got and not a watered-down version of it. When you knead the butter dough and it starts getting sticky on your hands, don’t reach for more flour. Rub a full tablespoon of olive oil into your hands first and knead it in that way, by hand, until your hands feel like they’ve absorbed it. If it’s still sticky after that, go back for a teaspoon more and knead again. I did this with my own hands, so I’m telling you exactly what I did. We don’t gate keep in this kitchen. If I handed you a plate of these and you asked why yours came out different, I’d want to already know I gave you the real answer, not a simplified one.
Same goes for the salt. Use coarse salt. Not table salt, not fine salt. It changes the flavor of the finished roll in a way you will notice even if you can’t quite explain why. And don’t worry about the egg situation looking complicated on paper. You’re using two eggs total. Crack them both, set one whole yolk aside for the dough, and let the white wait its turn for the egg wash later. That’s the whole trick.
What Each Ingredient Is Doing For You
Whole milk is doing more than just wetting the dough. Warmed gently, it feeds the yeast the sugars it needs to wake up and start working, and the fat content in whole milk is part of what gives these rolls that soft, tender crumb instead of a dry, bready one. Skim milk will get you leavening. Whole milk gets you the pillowy texture you actually want.
Instant yeast is the engine of the entire recipe. It’s a living organism, and when you proof it in warm milk with a little sugar and honey, you’re essentially waking it up and feeding it before you ask it to do the real work of making this dough rise. Instant yeast is also forgiving in a way active dry yeast isn’t, which matters a lot on a recipe with this many moving parts.
The eggs are doing double duty here. The whole egg and the extra yolk both go into the butter dough, and that extra yolk is the reason these rolls have such a rich, almost custardy softness to the crumb. Egg yolks are full of fat and emulsifiers that make baked goods tender and help them stay fresh longer. The reserved egg white isn’t wasted, either. It becomes the wash that gives these rolls that glossy, golden shine on top.
Melted butter is where the richness lives. It coats the flour proteins as you knead, which is part of why this dough behaves the way it does and why the finished roll has that slightly flaky quality on the outside. Butter also carries flavour better than almost any other fat you could use here, which is why a shortcut substitution would leave you with a roll that just tastes like bread instead of tasting like an event.
Coarse salt isn’t just about the salty flavour note, either. Salt tightens gluten structure, which helps the dough hold its shape as it proofs, and it balances out the sweetness from the sugar and honey so the whole roll doesn’t read as dessert-sweet. The coarser grain also dissolves more slowly, which some bakers believe gives a more even distribution of flavour through the dough rather than one concentrated hit.
All-purpose or bread flour supplies the protein structure, the gluten, that gives this dough enough strength to be kneaded twice and still come together into something elastic and workable instead of falling apart. Bread flour will give you a slightly chewier final texture if you have it on hand, but all-purpose flour will absolutely still get you a beautiful roll.
Olive oil, used the way I used it on my hands during kneading rather than poured straight into the bowl, keeps the dough from sticking to you without introducing extra flour that would toughen the final texture. It’s a small technique, but it’s the difference between a dough that fights you and a dough that cooperates.
And then there’s the honey, working in two different places in this recipe and doing something a little different each time. In the yeast proof, that tablespoon of honey gives the yeast an extra source of food to wake up on, which can help you get a more active, more confident proof. In the topping, honey brings natural sweetness and that beautiful glossy finish, and combined with the butter and a splash of milk, it turns into a glaze that soaks into every crease of these rolls instead of just sitting on top of them.
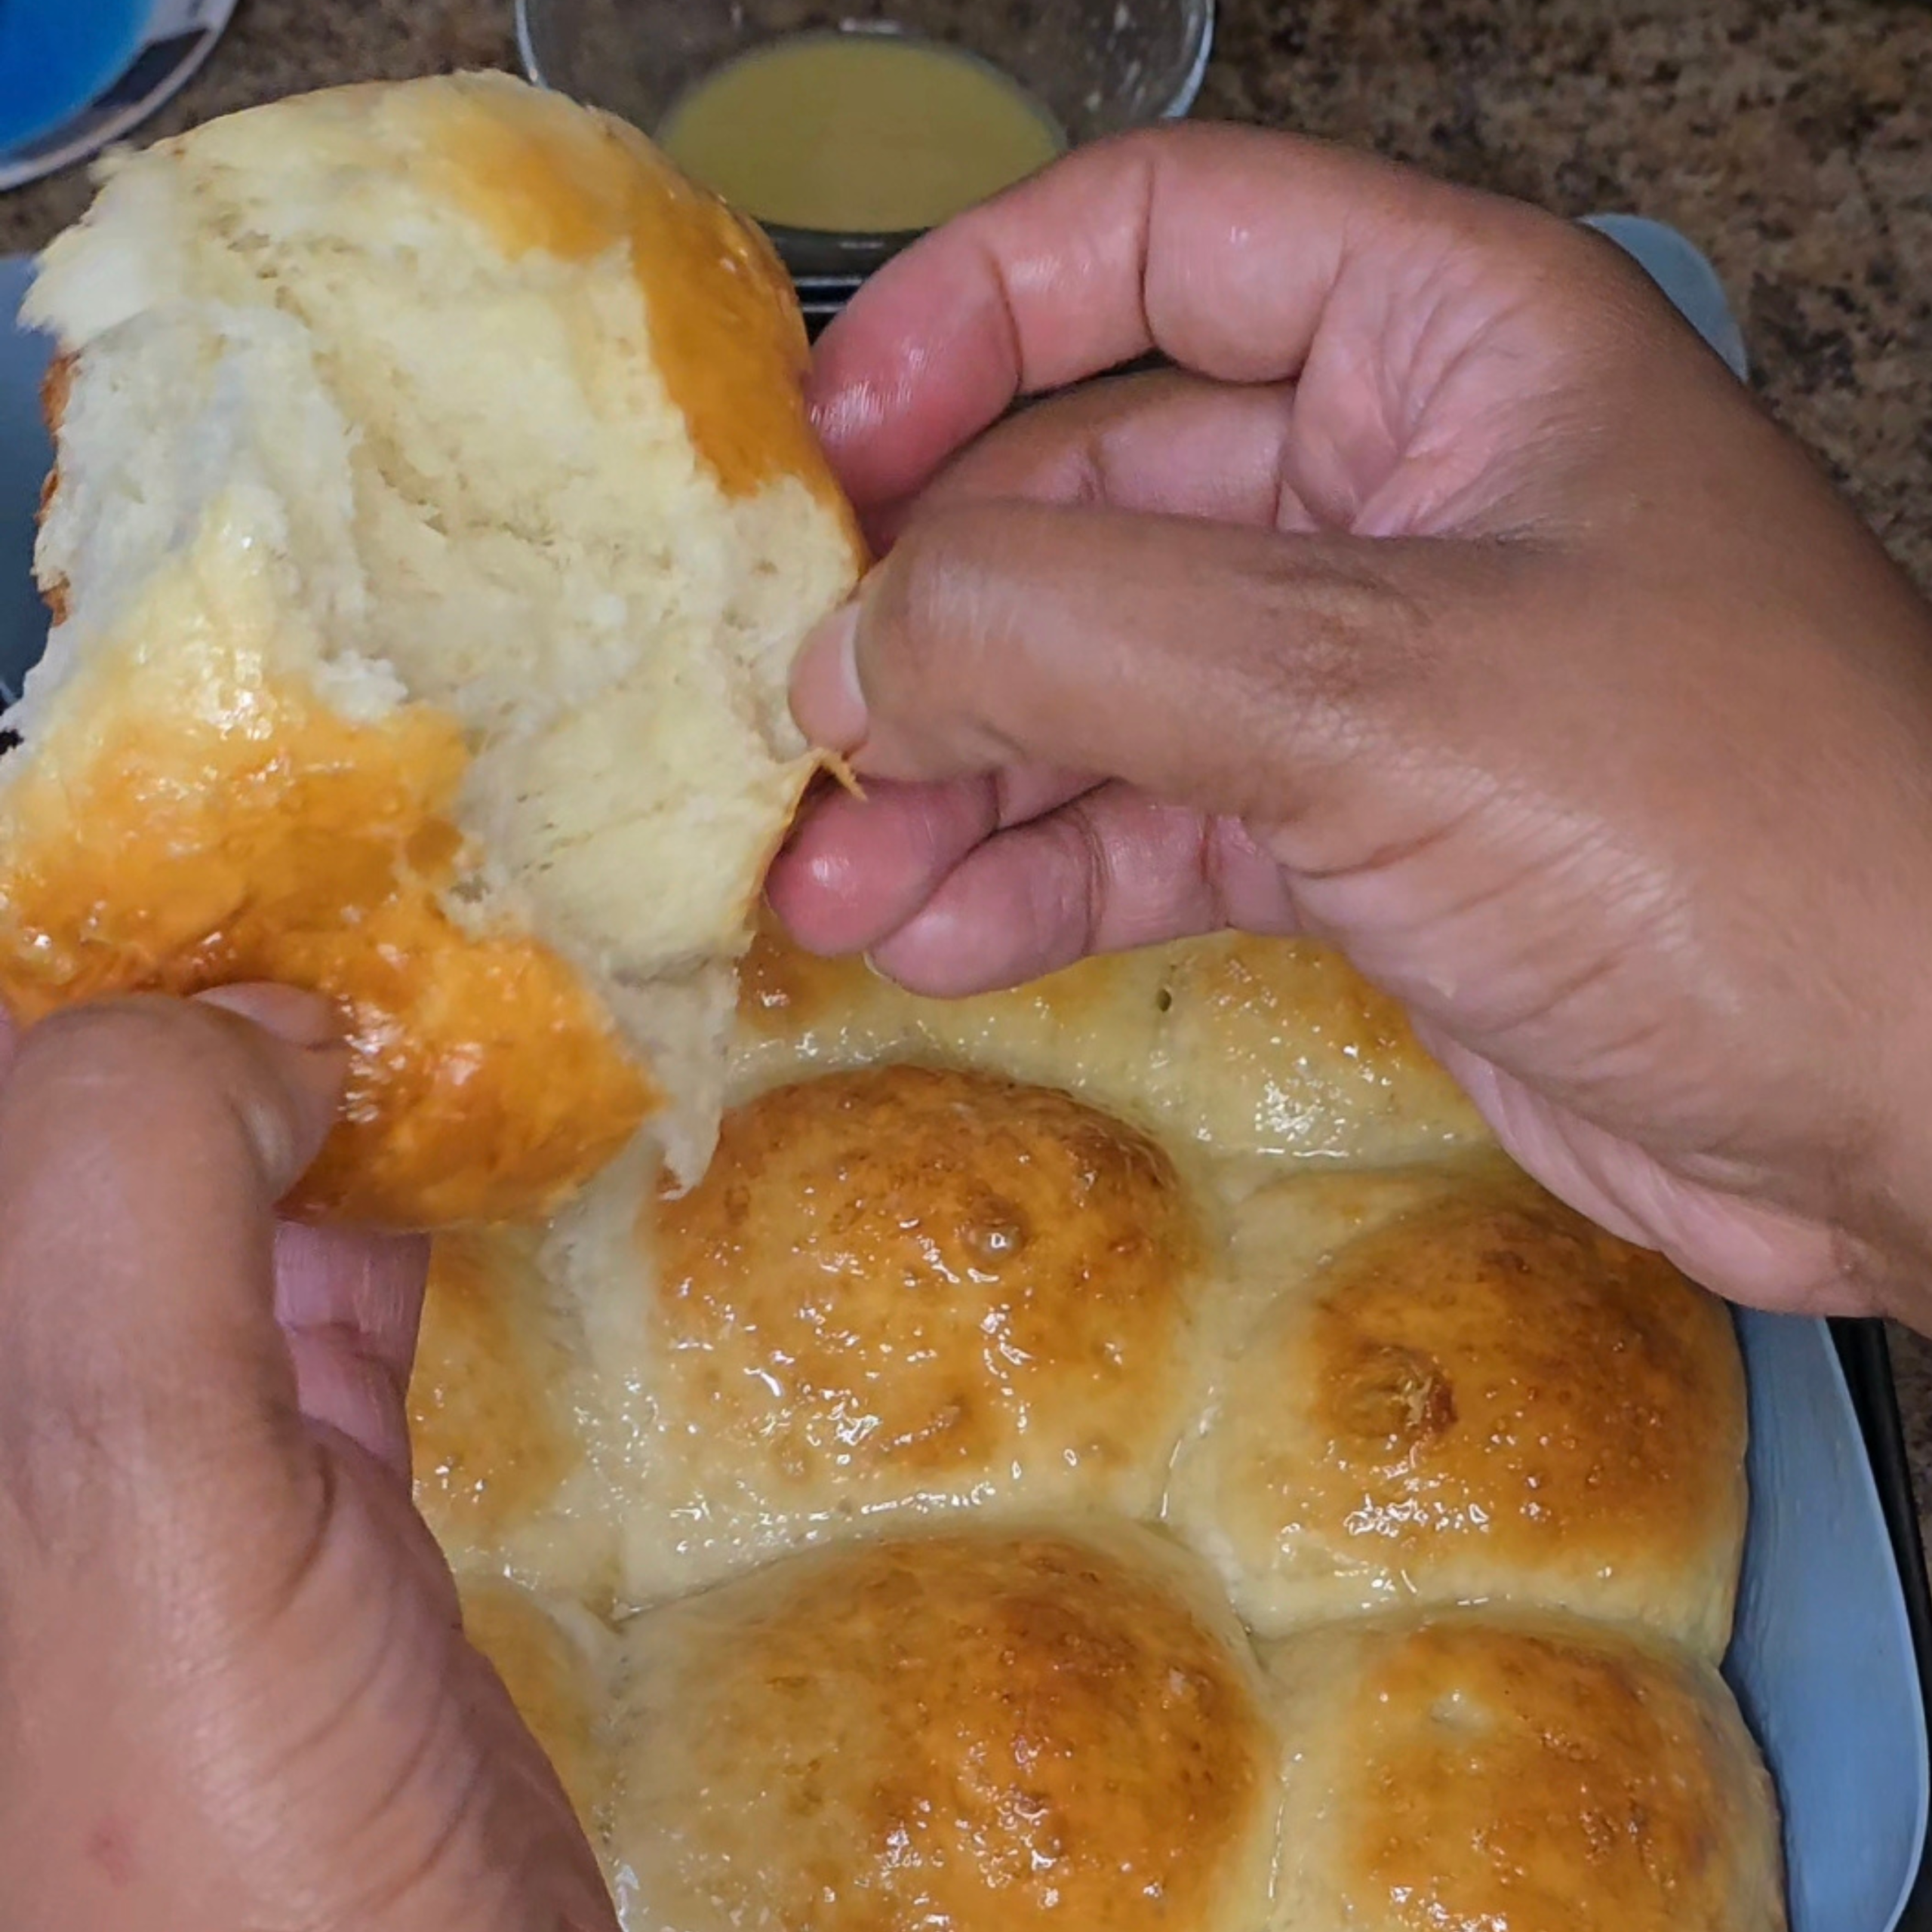
Marry Me Dinner Rolls
Ingredients
Method
- Separate your eggs first. Crack both eggs, setting aside one whole yolk for the butter dough and reserving the white in a separate small bowl for the egg wash later.
- Proof the yeast. In a measuring cup or bowl, combine the warm whole milk, instant yeast, 1 tablespoon of sugar, and 1 tablespoon of honey. Stir gently and let sit for 5–10 minutes, until foamy on top.
- Build the butter dough. In a mixing bowl, combine 1 cup of the flour, the melted butter, 1 teaspoon of coarse salt, the remaining 1 tablespoon of sugar, the whole egg, and the reserved egg yolk. Begin kneading by hand. When the dough starts to stick to your hands, rub 1 tablespoon of olive oil into your hands and continue kneading directly with your hands until the oil is fully worked in. If the dough is still sticky, rub 1 teaspoon of olive oil into your hands and knead again. Do not add extra flour or water to compensate for stickiness. Continue until the dough comes together into a smooth ball.
- Build the yeast dough. In a separate bowl, combine the remaining 2 cups of flour with the remaining 1 teaspoon of coarse salt. Pour in the proofed yeast mixture and mix until just incorporated. This dough does not need a full knead, just full combination.
- Combine and knead. Combine both doughs into one bowl and knead together for about 10 minutes. The dough may look uneven or separated at first. Keep kneading; it will come together into a smooth, cohesive dough.
- First rest. Cover the combined dough with a clean towel or plastic wrap and let it rest until slightly puffed.
- Second knead and rest. Knead the dough again for 5–10 minutes, then cover and let rest a second time, until it feels fully incorporated and elastic.
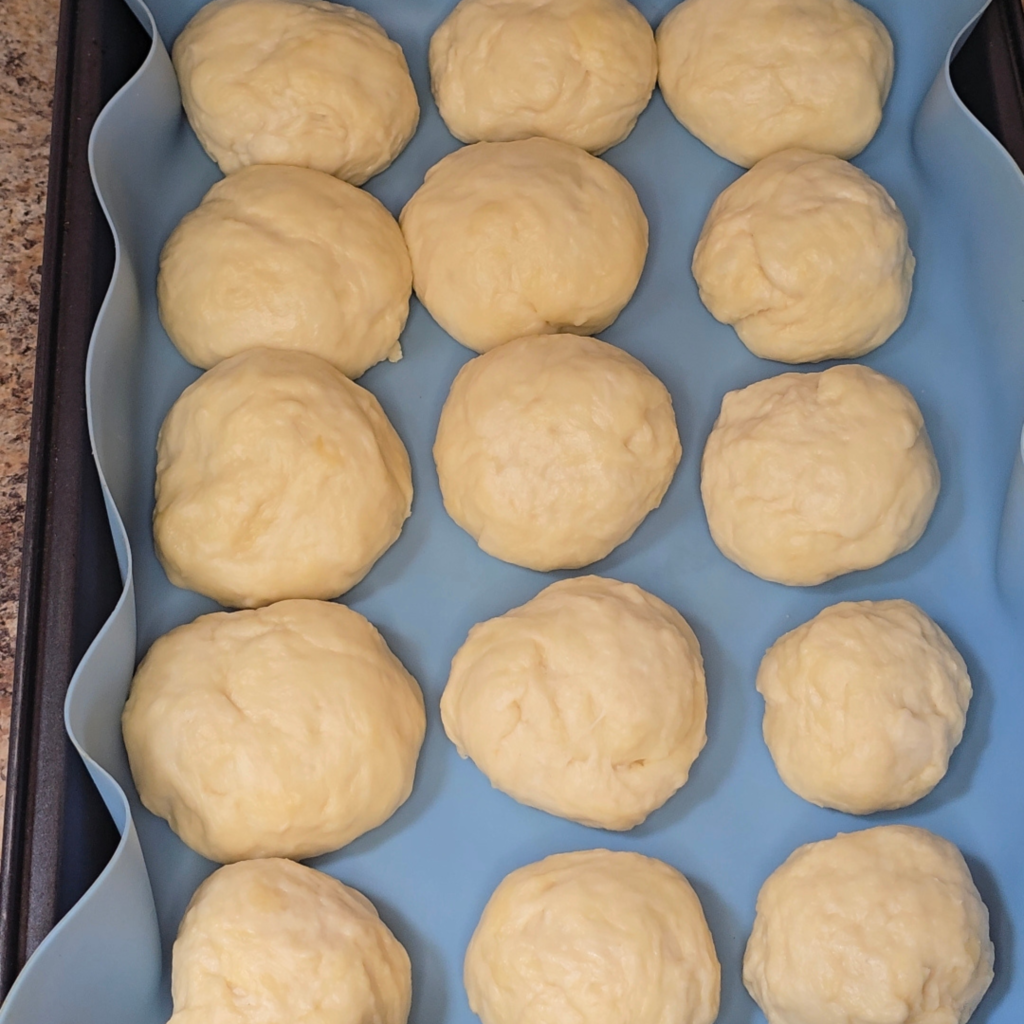
- Shape the rolls. Divide the dough into 12–16 equal balls for standard dinner-roll size (15 is the sweet spot), or shape larger if making hamburger buns. Place in a greased baking dish or on a lined sheet pan, leaving room to expand.
- Final proof. Cover the shaped rolls loosely and let rise until doubled in size.
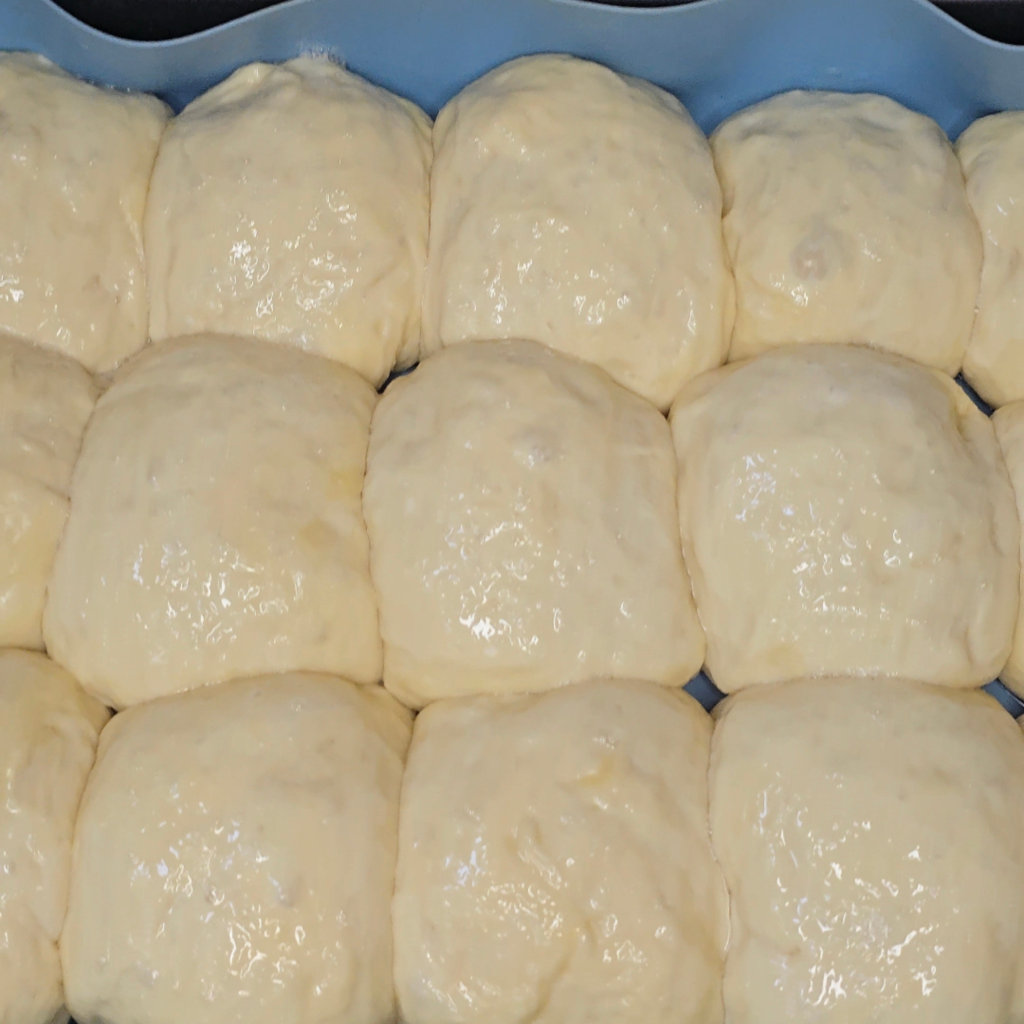
- Preheat and egg wash. Preheat the oven to 350°F. Whip the reserved egg white until bubbles form; you do not need stiff peaks. Brush generously over the tops, sides, and creases of every roll.
- Bake. Bake for 22–26 minutes, until the tops are deeply golden. Baking time will vary depending on your oven and even the season, so watch color rather than the clock alone.
- Make the honey butter. While the rolls bake, combine the butter, 2% milk, and honey in a microwave-safe bowl. Microwave in 20–30 second bursts, stirring until smooth. Have it ready before the rolls come out of the oven.
- Double-coat with honey butter. As soon as the rolls come out of the oven, brush the honey butter mixture generously over the tops and into the creases of every roll. Wait about 30 seconds, then brush a second coat over the top. Do not skip the second coat.
Notes
- Calories: ~180 kcal
- Protein: ~4g
- Carbohydrates: ~23g
- Sugar: ~5g
- Fat: ~7.5g
- Saturated Fat: ~3.8g
- Sodium: ~325mg
- Fiber: <1g
A Pinch of Scripture
Bread and honey have always meant more than breakfast in this family, and it turns out scripture agrees.
When God described the land He was bringing His people into, He didn’t describe it in terms of wealth or power or safety alone. He described it in terms of milk and honey, the exact two ingredients sitting in your mixing bowl right now.
“And I am come down to deliver them out of the hand of the Egyptians, and to bring them up out of that land unto a good land and a large, unto a land flowing with milk and honey; unto the place of the Canaanites, and the Hittites, and the Amorites, and the Perizzites, and the Hivites, and the Jebusites.” — Exodus 3:8
A land flowing with milk and honey wasn’t a poetic exaggeration. It was God’s chosen shorthand for abundance, for provision, for a promise so good it needed to be described in terms people could taste. He didn’t say a land flowing with gold and silver. He said milk and honey, the same two things that turn a plain roll into something people can’t stop reaching for.
I think about that every time I brush that honey butter over the top of these rolls while they’re still steaming from the oven. Provision doesn’t always show up looking dramatic. Sometimes it shows up looking like a warm kitchen, a full table, and a son who keeps sneaking back for one more. God’s promises were never just spiritual abstractions. He wrapped them in the language of a table set full, because He knows that’s a kind of love we can actually taste and understand.
If you’re in a season where things feel tight, where the pantry looks a little sparse or the budget looks a little thin, let this recipe be a reminder that abundance doesn’t require extravagance. Milk, honey, flour, butter, a little salt and yeast. That’s what an entire promised land was described as flowing with. Sometimes the humblest ingredients are exactly the ones God uses to show you what provision actually looks like.
Stay faithful, stay seasoned, and stay loyal.
With love and fire,
V.S. Beals
Servant. Disciple. Woman of the Word.
Have you tried our last recipe?